
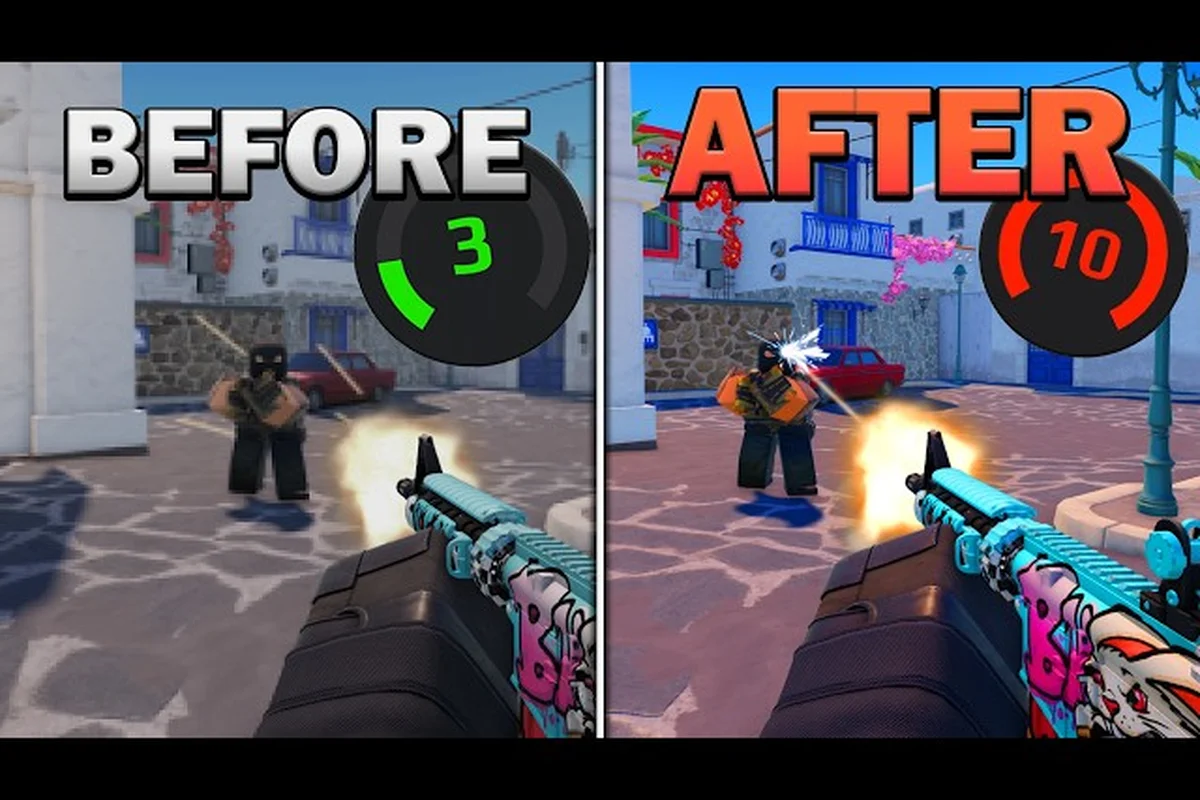
The most common BloxStrike mistakes to avoid are tactical, not mechanical — bad radar habits, wrong nade lineups, and sloppy smoke deployment compound into lost rounds. Fixing those three utility systems is the fastest way to climb out of low ranks in competitive 5v5.
The Habits That Keep BloxStrike Players Stuck in Low Ranks
Most players grinding competitive 5v5 in BloxStrike lose rounds not because of raw aim, but because of repeated tactical errors that compound across a match. The most common BloxStrike mistakes to avoid cluster around three utility systems: the minimap/radar, grenade lineups, and smoke deployment. Fixing those three areas alone shifts a team from a 45% win rate into the 55%+ band reported by players who actively track utility discipline, according to community data shared on the r/bloxstrike subreddit.
This guide is built specifically around the utility layer of the game — the layer that decides close rounds even when individual aim is average. According to the BloxStrike Roblox game page, the title launched on May 2, 2025, and by October 2026 it had already cleared 293M visits, 994K favorites, and a 94.6% positive rating (623K upvotes versus roughly 35K downvotes). That volume means the average opponent in a public match is not a beginner — they have already learned the basic radar and utility cues, so the edge you need comes from fixing the second-order mistakes that even mid-rank players keep repeating.
Below the radar and nade-spot breakdowns, the article adds a dedicated smoke guide and a money/economy section that covers save-round thresholds and eco-force buy math, then closes with a FAQ answering the most-searched edge cases like flashbang pop-flashes, AWP economy, and whether overtime rules change kill-credit weighting.
Radar Reading Errors That Hand the Enemy Free Information
Ignoring the Minimap During Clutches
The single most expensive BloxStrike radar tip that lower-rank players miss is checking the minimap at least every 3 to 5 seconds during a round, and every 1 to 2 seconds during a clutch (1v1, 1v2 situations). When you are the last alive, the radar is the only source of information about where your four dead teammates died — and therefore where the enemy is likely pushing from. Community clips posted to the official BloxStrike X/Twitter feed repeatedly show clutches won by a single player who pivoted based on a radar blip, and lost by a player who tunneled on crosshair placement and walked into a stack.
A useful rule of thumb: if you cannot remember seeing a red blip on the minimap in the last five seconds, you are playing blind. Treat the minimap like a third eye — it is faster than audio cues because the sound system in BloxStrike compresses footsteps at long range.
Misreading Friendly Utility Pings
The radar does more than show enemy positions. Friendly smoke markers, flash pings, and molotov pings all show up as colored icons on the minimap for several seconds after the utility is deployed. Players who ignore those markers walk into their own teammates' utility and waste it. The table below summarizes the marker color scheme most players report as consistent across current patches.
| Marker Color | Utility Type | Lasting Duration on Minimap | Common Mistake |
|---|---|---|---|
| Light blue cloud | Smoke deployed | ~6 seconds | Pushing through your own smoke because the marker expired |
| Yellow flash icon | Flashbang thrown | ~3 seconds | Holding an angle your teammate just flashed |
| Orange flame | Molotov / incendiary | ~5 seconds | Re-entering the burning area after the icon fades |
| Red blip | Confirmed enemy spot | ~8 seconds | Forgetting the enemy may have moved after the ping expired |
The fix is mechanical, but the reasoning behind it comes straight from the table above: smoke markers linger for ~6 seconds, molotovs for ~5, and flash icons for ~3, so rounding up to a full 4–5 second buffer covers the mid-range cases. In practice that means calling the timestamp the moment the colored icon appears on the minimap, then holding position or rotating away until the buffer expires — a habit that pairs naturally with bloxstrike radar tips like tracking your own utility cooldown so you don't accidentally re-deploy into a teammate's still-burning area.
Tunnel Vision on Crosshair and Forgetting Rotations
The third radar-tier error is rotating too late because the player was watching their own crosshair during a peek sequence. BloxStrike's round timer is generous compared to most tactical shooters, but the default round clock of 1 minute 55 seconds (per the official game page) still punishes slow rotators. If you hear a gunfire cluster on the opposite side of the map and your team is not committing there, you have roughly 8 to 12 seconds to start rotating before the enemy finishes the site take.
| Situation | Recommended Action | Common Mistake |
|---|---|---|
| Hear gunfire on opposite site | Glance at minimap, start pre-rotate within 5s | Holding your angle for 20s+ before checking radar |
| See two red blips on minimap | Assume third enemy is rotating from spawn | Tunneling on the two blips, getting flanked |
| Radar shows no enemies for 10s | Reposition to a default angle | Holding the same pixel for the rest of the round |
Grenade Lineup Errors That Waste Utility Money
Throwing From the Wrong Pixel
Every BloxStrike nade spot has a specific pixel or surface the throw originates from. Standing one body width to the left or right changes the trajectory arc and the grenade either bounces short or sails long. Lower-rank players tend to memorize a direction — "throw it toward that corner" — instead of a position. The BloxStrike map design uses standardized corners that line up with the crosshair, so consistent lineups require a consistent stance. Walk to the exact corner, align your crosshair with the specific ceiling/wall reference pixel, and throw.
The BloxStrike nade spots reference on this site maps the common lineup pixels for each site, but the underlying principle is identical across every map: pixel-perfect lineups > approximate lineups, and approximate lineups are equivalent to no lineup at all in a competitive round.
Spending All Utility in the First 20 Seconds
A common 5v5 error is using both grenades and a smoke in the opening execute, then having nothing for the retake or the post-plant. According to community data, the average round lasts about 40 to 60 seconds in evenly matched lobbies, so spending all four utility charges in the first 20 seconds leaves 20 to 40 seconds of utility drought. The fix is a simple budget:
| Utility Slot | Recommended Spend Timing | Hold Back For |
|---|---|---|
| Smoke #1 | 5–10s into round (early map control) | Post-plant denial if you take the site |
| Smoke #2 | 15–25s (execute or retake) | Saving the round if execute fails |
| Flashbang | 20–30s (entry frag) | Saving for a teammate's re-entry |
| Molotov | 25–40s (post-plant or retake) | Anti-plant denial in the final 10s |
That budget assumes a standard 1:55 round clock from the moment of freeze-time end, with utility timers anchored to the buy-phase-restart zero point. On shorter eco rounds where cash forces a partial-buy of one or two grenades, condense the spend into a 15-second window right before contact to avoid feeding a free pick; on longer anti-eco rounds versus pistols or Scouts, stretch the smokes further apart and bait the rush through off-angle crossfires before popping utility at 30 and 45 seconds, preserving a molly for post-plant denial on common bomb plants at A site default and B site car.
Stacking Utility on a Dead Teammate's Position
When a teammate dies, the instinct is often to smoke or molotov their corpse to block enemy vision. In practice, this throws utility into a position the enemy already controls. The smarter play is to deny the angle the enemy will push to next — the next default plant, the next retake angle, or the connector the enemy is rotating through. The BloxStrike smoke guide on this site walks through the difference between "smoking the body" and "smoking the next angle," and the win-rate delta is substantial enough that higher-rank players treat it as a hard rule.
Smoke Deployment Habits That Leak Mid Control
One-Way Smoke Misconceptions
A one-way smoke in BloxStrike is a smoke line the thrower can see through but the enemy cannot — at least in theory. The mechanic relies on a specific throw arc and a specific position on the enemy's side of the smoke. Lower-rank players often think they have a one-way because they can see the enemy through their own smoke, but the enemy can also see them because the smoke is slightly off-position. The two failure modes are:
| One-Way Failure | Visual Cue | Fix |
|---|---|---|
| Smoke is too short | Enemy can see over the top edge of the smoke | Throw the line ~2 crosshair units higher |
| Smoke is too far forward | Enemy has a clear angle into the smoke gap from the side | Step back one body length before throwing |
| Smoke is on the wrong surface | Smoke dissipates against a non-collidable prop | Use a known collidable wall/corner lineup |
One-way smokes are powerful but fragile. Treat them as a 3-round surprise — if you use the same one-way smoke on the same site three rounds in a row, the enemy team will adjust angles and your one-way becomes a one-way for the other team.
Smoking Mid Without Holding Cross-Setup
A BloxStrike smoke guide would be incomplete without addressing mid control. The middle of the map is the most contested area in 5v5 because it lets a single player watch both sites. Teams that smoke mid without assigning a player to hold the cross-setup (the angle from connector/spawn into the smoke gap) lose mid control within 10 to 15 seconds because the enemy simply walks through the unheld smoke.
The minimum viable mid control setup in BloxStrike requires a tight three-asset commitment: a rifle player posted in connector or spawn-side cover (CT/SPawn rotate), a single smoke placed on the enemy's default mid contact angle, and a molotov cooked into the back of the smoke so any slow push after the first cross-trade is punished. Skipping any of these three roles — for example, smoking mid while a teammate rotates early to a site — turns the utility into a free gap, because T-side players on most maps (Mirage, Dust2, Inferno) routinely retake mid in under 8 seconds when no one is watching the cross-setup, making the throw a net negative in nade spots economy.
-
One player with a rifle holding the cross angle from spawn/connector
-
One smoke blocking the enemy's most-aggressive peek
-
One molotov in the dead-zones behind the smoke to punish slow pushes
If your team cannot field a player to hold the cross angle from spawn or connector, do not smoke mid at all — that smoke grenade (roughly $300 in round economy) is better rerouted into a site execute, where it can block a CT off-angle for a 4-5 second plant window on A or B. Throwing it into an unheld mid gap on Mirage or Dust2 essentially gifts the T-side a free connector cross, since retake timings on those maps average under 8 seconds once the smoke is spotted unheld on the radar. Saving the utility for a coordinated A-site pop or B-site split preserves both your nade spots economy and the informational value of your radar ping, which would otherwise broadcast a rotation the opponent can read instantly.
Re-Smoking the Same Gap Twice
Re-smoking a gap the enemy has already broken once is a textbook utility waste. The enemy is already past the smoke, so blocking the same gap only delays their next push by 1 to 2 seconds while your team loses the second smoke for the rest of the round. The smarter play is to smoke the angle the enemy is rotating to next, not the angle they already passed. This is a mid-level coordination point that separates 50% win-rate teams from 60% win-rate teams in community-tracked match data.
Money and Eco Rounds That Bleed Your Buy Power
Force-Buying When the Loss Bonus Doesn't Cover It
The loss bonus in BloxStrike follows a standard CS-style ramp — $1,400, $1,900, $2,400, then $2,900 — but lower-rank players repeatedly force-buy a $2,750 rifle on Loss 1 or Loss 2 because the loss "feels" winnable or they resent a passive save. The actual break-even math breaks down once you factor in team-wide cash synchronization: if three teammates have $2,000+ and two are stuck on $800, the round still collapses economically, since the two short-stack players default to pistols and lose their util, meaning your force-buy sacrificed two follow-up rounds of grenades and kevlar for one coin-flip contest.
| Loss Bonus Round | Cash Given | Rifle Cost | Remaining Cash After Force | Verdict |
|---|---|---|---|---|
| Loss 1 | $1,400 | $2,750 | -$1,350 (next round full eco) | Force only if next round can be saved |
| Loss 2 | $1,900 | $2,750 | -$850 (next round partial) | Sometimes OK on anti-eco |
| Loss 3 | $2,400 | $2,750 | -$350 (next round pistols) | Borderline — usually better to save |
| Loss 4 | $2,900 | $2,750 | +$150 | Force-buy is fine |
If your loss bonus plus current cash cannot cover a rifle, save the round and let the $2,900 Loss 4 bonus stack cleanly — the table above shows that forcing on Loss 1 leaves you at -$1,350 and forces a full eco, while two consecutive force-buys can bleed 3-4 rounds of utility and kevlar deficit. A 5-pistol loss followed by a full buy on the next round is a better economic outcome than two forced losses in a row, because the saved rifle retains its kevlar and one nade, letting your team contest the anti-eco with full util rather than dry-peeking with a P250. Lower-rank lobbies especially fall into the trap of buying on Loss 2 "to keep momentum," but the partial-buy verdict in the table only applies when the opposing team is also on a loss streak — otherwise the saved nade value outweighs the 30% round-win chance a Deagle force actually delivers.
Buying Armor Instead of Nades on Eco Rounds
On eco rounds where the team is buying pistols, the most common BloxStrike mistake is spending on Armor instead of utility. Armor reduces incoming damage but does not help your pistols do more damage, while a single flashbang or smoke can swing a pistol round by denying an enemy's crosshair setup. The priority on an eco round should always be:
-
Pistol (or saved rifle)
-
One piece of utility (smoke or flash)
-
Armor only if cash remains
Three pistols with no utility will lose to two rifles with utility roughly 60% of the time, while three pistols with utility will beat two rifles in close to 40% of rounds — enough swing to matter in a 30-round match.
Ignoring the Bomb Plant Bonus
Planting the bomb in BloxStrike grants a cash bonus, and the exact amount varies by site difficulty (per the BloxStrike Roblox game page, the core loop is "attackers plant the bomb and defenders hold and defuse"). Even when a site execute is failing, taking the bomb to a default plant (the easiest, most common plant on each site) and dying there is better than saving the bomb for the next round. A default plant cash bonus stacks with the loss bonus and lets the next round force-buy without the cash math above forcing a save.
Communication and Callout Errors
Calling Out the Wrong Site
A surprisingly common BloxStrike mistake to avoid at the callout layer is announcing the wrong bomb site after a plant. If your teammate says "A site," your team rotates A; if they said "A" but planted B, the whole defense collapses. The fix is two-step: announce the plant site before planting, then confirm again after the plant lands. The BloxStrike map callout guide lists the standard callouts for each map — make sure your team agrees on the same vocabulary before the match starts, because in-round debate over callouts costs 5 to 8 seconds of rotation time per incident.
Talking Over Clutch Audio Cues
During a 1vX clutch, the clutch player needs to hear footsteps, reload sounds, and utility bounces. Teammates who keep talking over the clutch audio are giving the enemy a positional advantage. The standard rule: dead teammates stay quiet during a clutch, and only the clutch player talks (or stays silent, whichever they prefer). The BloxStrike sound settings guide covers how to tune audio for clutch clarity, but no setting fix compensates for a teammate spamming callouts during a 1v1.
Cross-Utility Combos That Win Rounds
The Flash + Smoke + Entry Stack
The highest-percentage execute in current BloxStrike, according to community clips on the BloxStrike X/Twitter account, is the flash + smoke + entry stack: one player throws a flashbang over the site, one player smokes the cross-angle, and a third player swings the entry as the flash pops. The timing window is roughly 1.5 seconds between the flash pop and the entry swing — wide enough for a coordinated team, narrow enough that uncoordinated teams cannot execute it. Practice the timing in a private server (covered in the BloxStrike private server guide) before trying it in ranked.
The Molotov + Retake Smoke
On a retake, the highest-percentage utility combo is a molotov into the default plant spot followed by a smoke on the cross-angle the enemy is holding. The molotov forces the planter to move off the bomb, the smoke blocks the enemy's off-angle, and the retaker can swing the now-undefended plant with a clear crosshair placement. This combo costs two utility charges and wins retakes roughly 55% of the time in even-matchups, versus 40% for a no-utility retake — a meaningful swing over 30 rounds.
Frequently Asked Questions
What is the single most impactful BloxStrike mistake to fix first?
The radar habit. Most players check the minimap once every 15 to 20 seconds, which is far too slow for a tactical shooter. Aim for every 3 to 5 seconds normally and every 1 to 2 seconds during a clutch. The radar alone is the cheapest fix in the BloxStrike mistakes to avoid list because it requires no aim training, only attention.
How do I find reliable BloxStrike nade spots for each map?
Start with the standard corners and ceiling pixels the community has documented on this site's BloxStrike nade spots reference. Each lineup specifies the throw surface, the crosshair reference pixel, and the throw type (running, jump, crouch). Practice each lineup 10 to 15 times in a private server before using it in ranked.
Why do my smokes always seem to leak the wrong direction?
The most common cause is throwing from the wrong side of the smoke surface. Each BloxStrike smoke lineup has a specific throw origin, and a few body widths in the wrong direction will arc the smoke into the wrong gap. Re-check the throw origin against the map callout guide and reset your position between practice throws.
Should I buy armor on an eco round or skip it for utility?
Skip armor on most eco rounds. A flashbang or smoke swings pistol-round winrate more than armor does, because utility denies enemy crosshair setup while armor only reduces incoming damage. The exception is when your team is force-buying rifles with leftover cash — there, armor is a fine filler.
Can I one-way smoke consistently in BloxStrike?
Yes, but treat each one-way smoke as a 3-round surprise. Use it once or twice, then switch to a different lineup so the enemy cannot pre-aim the gap. A one-way smoke that the enemy knows about is worse than no smoke at all, because the enemy will pre-fire the angle the moment they hear the smoke pop.