
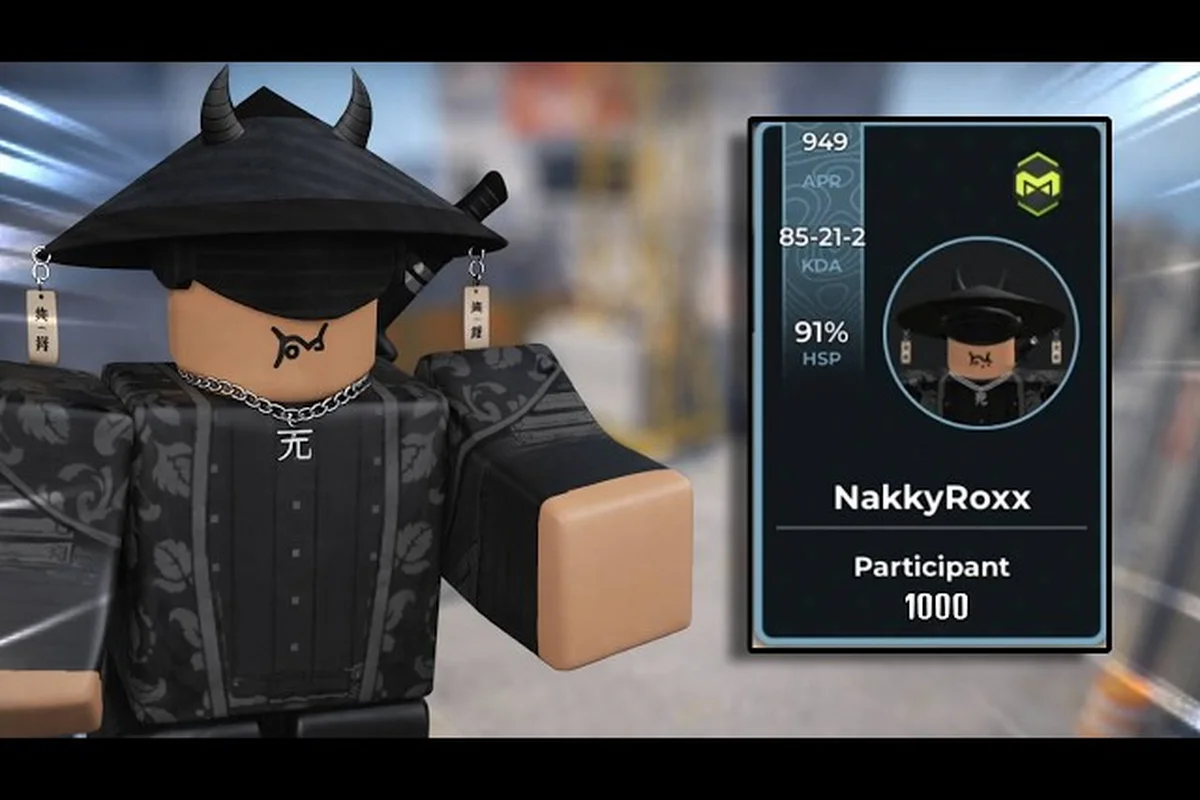
If you want cleaner crosshair placement and tighter flicks before queuing for ranked, the deathmatch mode in BloxStrike is the fastest way to log live aim reps without the pressure of an economy round. The official BloxStrike game page on Roblox describes the title as a fast-paced 5v5 tactical shooter, and most players treat the free-for-all warmup arena as the single best place to translate raw mechanics into real round-winning muscle memory. This guide explains what the mode actually rewards, how the scoreboard rounds to win, and which weapon spawn habits carry over into competitive Bomb mode.
What BloxStrike Deathmatch Mode Actually Is
Deathmatch in BloxStrike is a free-for-all arena built for aim training first and ranking second. Players spawn around a closed map, weapons are scattered as static pickups, and the goal is to land as many kills as possible before the clock runs out. The mode is one of the non-competitive casual mode entries in the modes menu, sitting next to the practice range and the upcoming tutorial island rather than the plant and defuse Bomb mode that anchors the ranked queue. According to the official BloxStrike Roblox listing, the title launched on May 2, 2025 and is maintained by the verified BloxStrike group, with new content drops typically announced through the @BloxStrikeRBLX X/Twitter account and discussed in the r/bloxstrike community.
Because deathmatch removes the bomb, the buy menu, and most of the credit economy, it acts as a pure aim training sandbox. Every spawn is a fresh duel, so bad positioning costs you instantly and good crosshair placement is rewarded the same way it would be in a Bomb round. That makes it the best warmup before ranked, especially for players who already understand the maps from casual mode but still need to tighten their spray control on rifles.
How Deathmatch Differs From Other BloxStrike Modes
The modes menu in BloxStrike currently groups into three broad categories: competitive Bomb mode, the free-for-all deathmatch arena, and the static practice range. Each one targets a different skill, and skipping straight from a deathmatch spawn into Bomb mode without ever touching the training range is a common mistake new players make. Below is a quick comparison of how deathmatch stacks up against the other core modes the community uses for warmup.
| Mode | Main Purpose | Respawn | Economy | Best For |
|---|---|---|---|---|
| Deathmatch (FFA) | Live aim reps | Every kill/timer | None | Warmup before ranked |
| Casual Bomb Mode | Relaxed 5v5 | Each half | Full buy menu | Learning map callouts |
| Practice Range | Static target drills | Manual | None | Sensitivity testing |
| Ranked Bomb Mode | Competitive MMR | Each half | Full buy menu | Climbing ladder |
The training mode that ships in the menu is a separate static shooting gallery built around the dummies on a single range, while deathmatch is closer to a real round because opponents fight back. For most players, the right order is to test sensitivity in the training range, grind 10 to 15 minutes in deathmatch, and only then load into ranked. This is also the order recommended in the how to get good at BloxStrike guide because each step feeds into the next one.
Rules, Spawns, and Round Counts in Deathmatch
Deathmatch does not use the standard rounds to win ladder that Bomb mode uses. Instead, the server runs a fixed match timer, and the player with the most kills when the timer expires wins the lobby. Kills do not extend the round; respawns are tied to a short timer that drops you back into the map at a random spawn point. The match length and the bloxstrike how many rounds question are therefore really about how many full warmup matches you stack back to back.
Standard Match Settings
According to community testing on the r/bloxstrike subreddit, the default deathmatch lobby runs with the values shown in the table below. These are the bloxstrike rounds to win style numbers most players see in 2026, though the developer occasionally adjusts them during seasonal events.
| Setting | Default Value | Notes |
|---|---|---|
| Match timer | 10 minutes | Match ends on timer, not on a kill cap |
| Kill win cap | 40 kills (rare) | Some lobbies use a kill cap instead of timer |
| Respawn delay | 3 seconds | Fast respawn, no death camera |
| Friendly fire | Off | FFA rules, no team damage |
| Max players | 10 | Standard FFA size |
| Weapon spawns | Static | Same weapons every match |
The two common match shapes you will see in the server browser are timer matches and kill-cap matches. Timer matches are better for pure aim training because you can stay on a single weapon spawn for several minutes and grind the crosshair placement muscle memory, while kill-cap matches are slightly more competitive and push players to chase frags rather than camp. For most warmup sessions the timer lobby is the more useful one because it removes the temptation to chase points.
Weapon Spawn Rules and Economy
There is no buy menu and no credit economy in deathmatch. Weapons are placed at fixed spawn points around the map and respawn on a short timer after being picked up. Because the loot table is static, players can learn which spawns drop rifles, SMGs, and the rare AWP equivalent, then plan their routes around them. This is also why deathmatch doubles as a bloxstrike aim training tool, because each weapon teaches a different firing pattern that you can drill in isolation.
| Weapon Class | Spawn Frequency | Best Drill Focus |
|---|---|---|
| Rifles (AK/M4 style) | Very common | Burst and spray control |
| SMGs | Common | Close-range tracking |
| Snipers | Rare | Flick and quick-scope |
| Pistols | Always on spawn | One-tap crosshair placement |
| Utility | Limited | Flash pre-aim practice |
Community testing on the r/bloxstrike Discord suggests that the rifle spawns near the middle of the map are the best place to drill spray transfer because the angles are clean and the respawns are fast. Players who want to warm up their pistol game should rotate through the corner spawns instead, because the close angles force a tight one-tap pattern. For deeper settings advice, the crosshair and recoil guide walks through how the crosshair color and the spray pattern interact on the rifle spawns.
Why Deathmatch Is the Best Warmup for Ranked
Most players who climb in ranked do not climb because of fancy strategies; they climb because their raw aim is more consistent than their opponents'. Deathmatch is the only mode in BloxStrike where you can log 100 to 200 real duels in a single 15 minute session, which is roughly the same volume of aim reps you would get from ten full Bomb rounds. Because every duel is a fresh spawn with no economy consequences, it also strips out the clutch pressure that usually hides mechanical weaknesses. A player who struggles to hit 50% headshot rate on a rifle spawn will see that stat in the deathmatch scoreboard instantly, while in Bomb mode it can stay hidden for an entire half.
Tracking Real Warmup Numbers
One of the most useful habits is to screenshot your deathmatch scoreboard after every warmup session and compare it over time. The three numbers that matter most are total kills, kill-to-death ratio, and headshot percentage. Most community coaches recommend the targets in the table below for players who want to be ready for ranked.
| Metric | Beginner Target | Intermediate Target | Ready for Ranked |
|---|---|---|---|
| Kills per 10 min | 15+ | 25+ | 35+ |
| K/D ratio | 0.8 | 1.2 | 1.5+ |
| Headshot % | 15% | 25% | 35%+ |
| Average duel length | 4 sec | 3 sec | 2 sec |
These numbers are based on community reports, not official metrics, so treat them as ballpark goals rather than hard thresholds. Even hitting the beginner target for two weeks in a row will usually push a player out of low-ranked lobbies and into the next MMR bracket, where the duels get harder but the save round decisions and economy calls start to matter more. For the economy side of the ladder climb, the save round guide explains how to bank credits and avoid throwing rounds you should be saving.
Common Warmup Mistakes in Deathmatch
The fastest way to waste a deathmatch session is to turn it into a regular Bomb round. Spawning in, holding one corner for the full timer, and refusing to take rifle duels defeats the entire purpose of the mode. The mistakes below are the ones that community coaches flag most often when reviewing VODs posted to the r/bloxstrike subreddit.
-
Holding one angle for the whole timer — you will never learn spray transfer if you only peek once
-
Camping the AWP spawn — sniping is fun, but it does not warm up the rifle mechanics you need in ranked
-
Ignoring the scoreboard — if you never check your K/D, you cannot tell whether the session actually helped
-
Playing tilted — deathmatch is meant to be a low-pressure warmup, so queue dodge if you are on a losing streak
-
Skipping pistol rounds — pistol aim carries over into rifle aim, so spend at least three minutes on the pistol spawns
A solid routine is to start on the pistol spawns for three minutes, rotate to the rifle spawns for ten minutes, and finish with two minutes of sniper flick drills. That gives you all three weapon classes in a single warmup block and prevents the bloxstrike practice mode habit of only ever practicing the weapon you already play well.
Strategies That Actually Carry Into Ranked
The reason deathmatch translates to ranked is that the dueling skills are the same, but the way you use them changes. In deathmatch, you can afford to take a 50/50 fight the moment you see an enemy because the timer respawns you. In ranked, every fight is a credit gamble, so the same 50/50 duel becomes a save round or a force buy decision. Players who grind deathmatch without thinking about how to apply the reps in Bomb mode usually hit a plateau around mid-ranked. The strategies below are the ones experienced players use to bridge the gap between warmup aim and round-winning aim.
Crosshair Placement Drills That Matter
Crosshair placement is the single biggest transferable skill from deathmatch to Bomb mode. If your crosshair is already at head height when you swing a corner, you will win the duel even before you factor in reaction time. The drills in the table below are the ones most players run during their deathmatch warmup, mapped to the round types where they pay off in Bomb mode.
| Drill | What to Practice | Bomb Mode Payoff |
|---|---|---|
| Pre-aim common angles | Hold crosshair at head height | Faster entry frags on attack |
| Counter-strafe peeks | Stop movement before firing | Cleaner sprays in pistol rounds |
| Spray transfer | Move crosshair between two targets | Multi-kill rounds on-site |
| Off-angle holds | Aim where enemies do not expect | Clutch defuse setups |
| Wide-swing timing | Swing past a common angle | Entry duels on the B site |
The off-angle hold drill is especially valuable because it teaches you to think about the angle from the opponent's side. Most players in low-ranked lobbies will pre-aim the obvious angles, so an off-angle hold is a free opening pick. For more detailed settings that affect these drills, the settings and sensitivity guide walks through the exact values most community coaches recommend.
Building a Pre-Ranked Routine
The most effective warmup routine is short, repeatable, and tracked. A 15 minute block is enough to warm up the aim, the spray control, and the crosshair placement, and it leaves plenty of time for the actual ranked session. The routine below is the one most players on the r/bloxstrike Discord follow before queuing for a competitive match.
| Time Block | Activity | Purpose |
|---|---|---|
| 0–2 min | Sensitivity check in training range | Confirm settings are correct |
| 2–5 min | Pistol spawns in deathmatch | Warm up flicks and one-taps |
| 5–12 min | Rifle spawns in deathmatch | Drill spray control and transfer |
| 12–14 min | Sniper spawns in deathmatch | Train flicks and quick-scopes |
| 14–15 min | One casual Bomb mode round | Read the map pool for the day |
This routine intentionally ends in casual mode rather than jumping straight into ranked, because casual mode lets you read the map pool and the daily server tick rate without the MMR consequences. The clutch and round strategy guide covers the side of ranked that is harder to drill in deathmatch, namely what to do when you are the last player alive in a 1v3 situation. Aim training alone will not win those rounds, which is why the two modes complement each other.
Frequently Asked Questions
How many rounds to win a BloxStrike deathmatch lobby?
Deathmatch lobbies do not use the standard bloxstrike rounds to win ladder. Most servers end on a 10 minute timer, and a few use a 40 kill cap instead. The player with the most kills when the timer ends wins the lobby, and there is no bomb plant or defuse to extend the match.
Is deathmatch good for aim training in BloxStrike?
Yes, deathmatch is the most effective bloxstrike aim training tool in the game because every duel is a live spawn with no economy consequences. Most players log 100 to 200 duels in a 15 minute session, which is more aim volume than ten full Bomb rounds. Pairing it with the static bloxstrike practice mode range gives the best warmup before ranked.
Can I play deathmatch solo or do I need a full team?
You can queue solo into any deathmatch lobby, and most players do. The mode is free-for-all, so there are no teams, no economy, and no bomb plant. The only modes that require a coordinated team are ranked and casual Bomb mode, which are covered in the BloxStrike game modes overview.
Does deathmatch affect my ranked MMR?
No, deathmatch matches do not affect your competitive rank, and most players treat them as a low-pressure warmup. The match results stay in the deathmatch scoreboard and do not transfer to the bloxstrike casual mode or ranked ladder. This is also why the BloxStrike developer keeps the mode unlocked from the start of a new account.
How often should I warm up in deathmatch before ranked?
Most community coaches recommend a 10 to 15 minute deathmatch warmup before every ranked session, plus a quick sensitivity check in the training range. Skipping the warmup is the fastest way to throw the first two rounds of a ranked half on bad crosshair placement. A consistent routine beats any single big practice block.